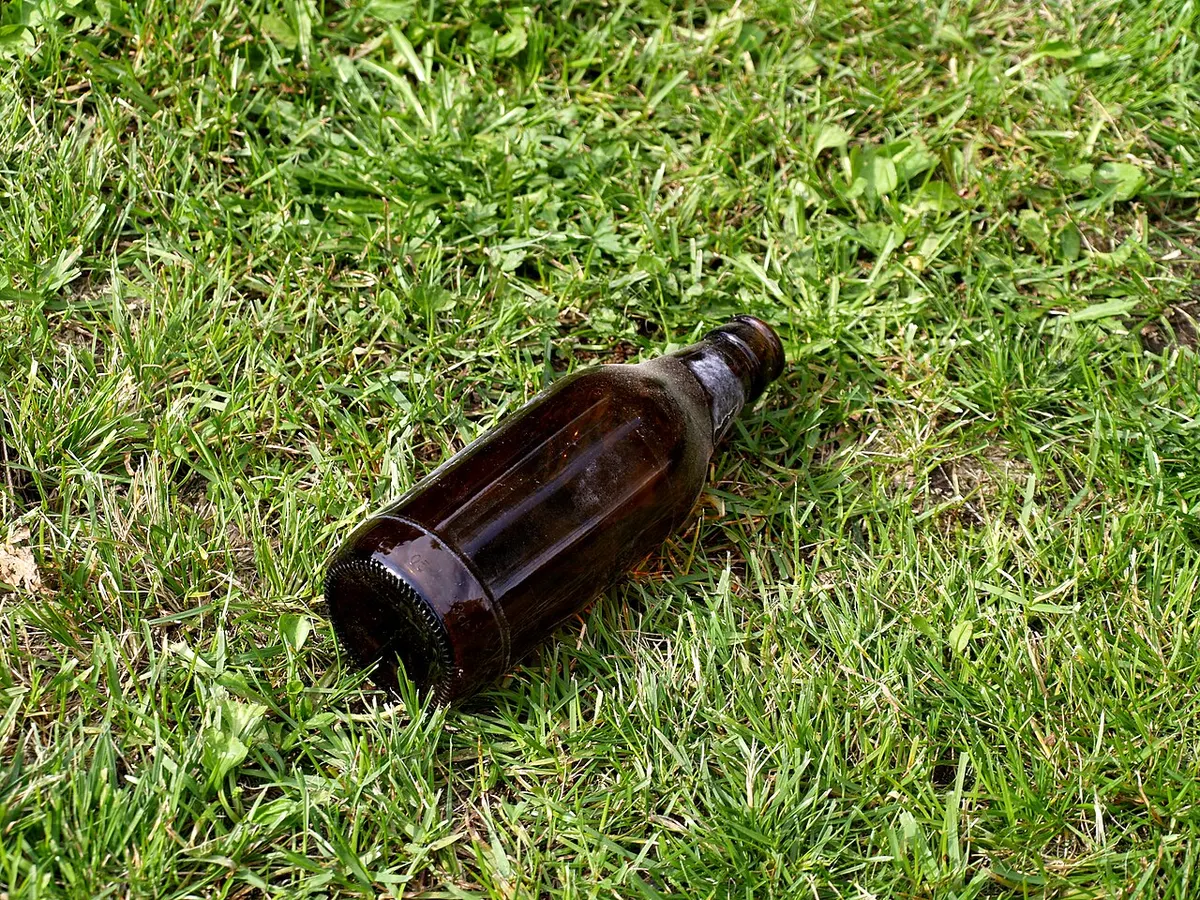
We have been cutting up empty bottles since 2008, back when the site launched and the original how-to was three shaky iPhone photos and a warning about the flaming string method. The core idea still works: a beer bottle is a hollow cylinder of tempered soda-lime glass, and if you scratch a perfect line around it and then hit that line with a rapid temperature change, it will split along the scratch. What has changed is that a good jig-based bottle cutter costs about $25 now, and it makes the difference between a shelf of matching pint glasses and a garbage can full of jagged shards.
This is a beer bottle glasses DIY guide, so it is going to be blunt about the parts that matter and skip the Pinterest fluff. We will cover which bottles work, which method is worth your time, and where the injuries happen.
Are beer bottles even a good candidate for this?
Short answer: yes, but with an asterisk. Beer bottles are made from thicker, more tempered glass than wine bottles because they have to survive pasteurization and pressurized carbonation. That thickness is why they thump instead of ring when you tap them, and it is also why the break rate is not 100 percent. Long-neck brown bottles (12 oz Budweiser, Sam Adams, most craft) give us the most consistent breaks. Stubbies and heavily embossed bottles (Corona, oddly-shaped craft one-offs) crack sideways more often.
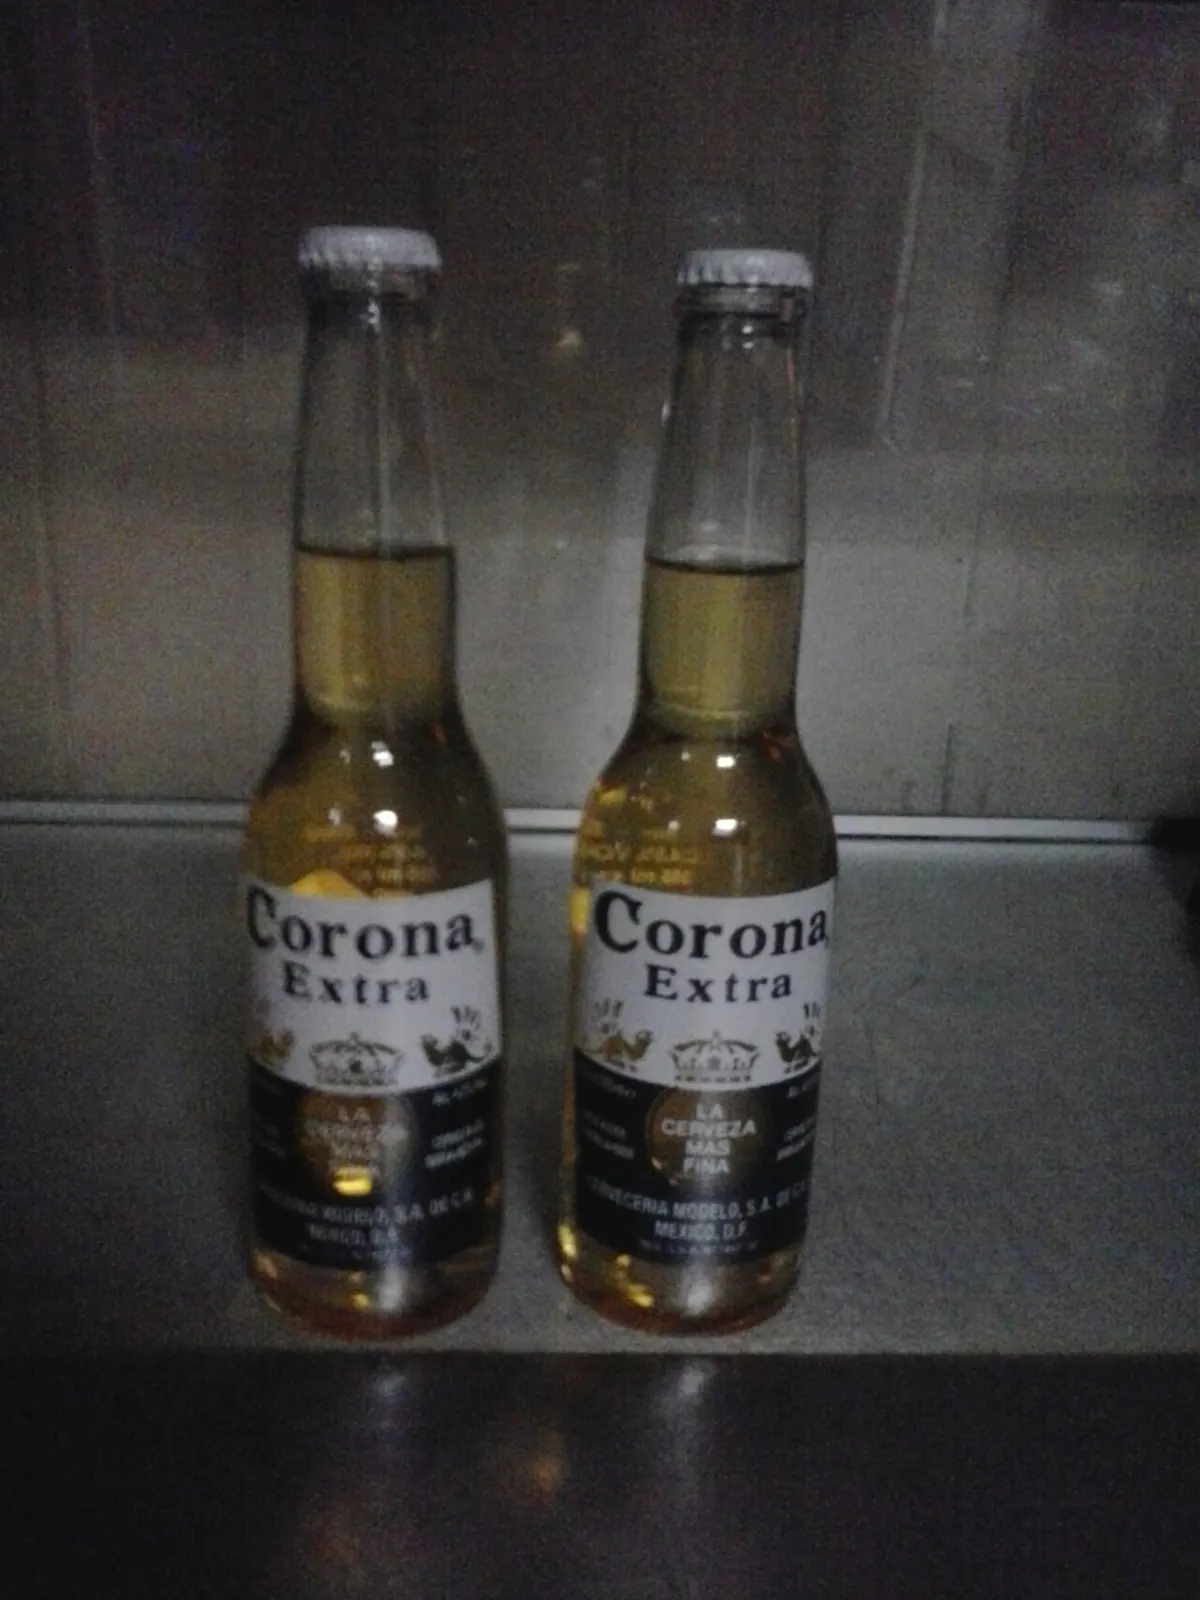 Photo: Nicholas Gemini, CC BY-SA 3.0, via Wikimedia Commons
If you want a project that just works, cut wine bottles first. Then when you have your process down, come back to beer.
What “works” looks like
We keep a break log every time we test a new method. Here is what our last 100 attempts averaged, using a $25 jig cutter and thermal shock:
| Bottle type | Clean breaks | Jagged, usable with sanding | Total loss |
|---|---|---|---|
| Wine, 750ml Bordeaux | 89% | 8% | 3% |
| Beer, 12oz long-neck brown | 64% | 22% | 14% |
| Beer, 12oz stubby (Corona style) | 41% | 30% | 29% |
| Beer, 22oz bomber | 71% | 18% | 11% |
Bomber bottles beat long-necks slightly because the wider diameter is easier to score in one rotation. Numbers assume you are following the process below step by step, not eyeballing it.
What you actually need
You do not need a workshop. You need six things.
- A jig-based bottle cutter with a carbide scoring wheel. Around $20 to $30 on Amazon or at a craft store. The generic Chinese-made kits sold as “Kinkajou dupes” work fine for a weekend project. If you get serious, the real Creator’s Bottle Cutter or a Diamond Tech G2 lasts years.
- Safety glasses. Not optional. Glass shards flick at eye level when a bottle breaks wrong.
- Cut-resistant gloves (A4 rating or higher). The kind kitchen workers use, about $12 for a pair.
- A kettle of boiling water and a bowl of ice water. Deep enough to submerge the score line.
- Wet/dry sandpaper in 120, 220, and 400 grits. About $6 for a variety pack.
- A workspace you do not care about. Concrete floor, garage, or driveway. A cardboard box catches shards.
That is it. No propane torch, no wet tile saw, no diamond core bit. Those exist and work, but they are overkill for a first project and each one has its own way of sending you to urgent care.
The step-by-step
Step 1: Empty and clean the bottle
Rinse it. Peel the label if you want a cleaner look; a soak in warm water and a little dish soap for an hour lifts most of them. Dry the outside completely, because a wet bottle slips in the jig.
Step 2: Set the cut height
Most bottle cutters are adjustable rollers. Set the score wheel to sit where you want the glass to break. For a pint-sized tumbler out of a 12 oz bottle, that is about 4 inches from the bottom. Measure once with a ruler, then let the jig hold it there for every bottle in the batch so your set matches.
Step 3: Score in one clean rotation
Press the bottle down onto the score wheel with light, even pressure and rotate it a full turn. One rotation. Not two, not three. A double score creates crossing scratches, and the crack chases the wrong one. You should hear a single quiet zip, like unzipping a tent.
Step 4: Thermal shock
Hold the bottle vertically over your sink. Pour boiling water on the score line for about 8 to 10 seconds while rotating the bottle so the whole ring heats evenly. Immediately dunk the same section in the ice water bath, rotating again for another 8 seconds. Then back to boiling. Then back to ice.
Usually by the third round the bottle separates with a soft tink and the top drops off in your hand. If it has not gone by round five, walk away for a minute, then re-score the same line and try again.
Step 5: Sand the rim in three grits
This is the step that decides whether you have a drinking glass or a lawsuit. Fill a shallow dish with water. Wet the 120 grit paper and lay it flat. Hold the glass upside down on the paper and grind it in a slow figure-eight for about 60 seconds, rotating the glass in your hand as you go. Rinse. Repeat with 220 for 60 seconds. Finish with 400 for 60 seconds.
Test with a wet paper towel: drag it across the rim. If it catches or tears, keep sanding. When it glides, run your fingernail across; if it does not snag, you are done. Rinse the glass thoroughly and let it air-dry before pouring anything in it.
Methods we do not recommend
Every DIY blog eventually covers the flaming string method: wrap acetone-soaked string around the bottle, light it, spin it, dunk in ice water. It looks great on YouTube. On beer glass it produces a wandering crack about half the time because the heat is not even. We have used it successfully on wine bottles when we had no jig, but for beer bottles the jig cutter beats it on every metric that matters.
Wet tile saws and diamond cutoff wheels work and give factory-clean edges. They are also loud, expensive, and slinging glass slurry across the garage. If you are cutting one bottle to use as a candle holder, do not buy a $200 saw.
Two things to actually make
Pint glasses from 22 oz bombers. Cut at 5.5 inches. You get a slightly bell-shaped tumbler that holds about 14 oz. A set of six matching craft-brewery bombers looks intentional on a shelf.
Rocks glasses from long-neck bottles. Cut at 3.25 inches. Not enough headspace for a beer, plenty for a whiskey pour with one big cube. Sand the rim extra long here because you are drinking spirits neat and your lip is closer to the edge.
We keep both around the bar. The rocks glasses in particular get compliments from guests because nobody expects a repurposed Sam Adams to feel weighted the way it does.
Quick answers
How long does it take to cut and finish one bottle? About 15 minutes end to end, mostly sanding.
Can I cut the neck off instead of the bottom? Yes, and it makes a decent bud vase. Sand the cut just as carefully; even a vase gets picked up and moved.
What if my cut is jagged? If the jagged section is under 1 mm, sand it out with an extra minute on 120 grit. If it is bigger, recycle the bottle. Do not try to use it.
Are the leftover bottle bottoms good for anything? Mostly no. Some folks use them as tea light holders; the sanding job is the same.
Should I drink alcohol from a bottle I cut myself? Sure, as long as the rim passes the fingernail and paper-towel test. Cutting bottles is a Saturday-afternoon craft project, not a home-distilling operation. Have a beer while you sand, but keep the sharp edges away from your hand and eye. Drink like a grown-up; the point is the glass, not what is in it.
The bigger idea
The whole reason we still publish these projects is that the American home bar used to be a place people built things for. Somewhere along the way we outsourced every glass, every board, every ice mold to a warehouse in Ohio. Cutting your own pint glasses out of empties will not save the planet. It will, however, take a Saturday, teach you something small about materials, and put a set of tumblers on your shelf that nobody else has. That is a fair trade for $25 and an afternoon.
If you want to keep going, our how to build a horseshoe pit and how to build a washer box guides cover the outdoor-game side of the same idea. The best flasks and growlers roundup is where to go if you want your beverage vessel to leave the yard.
For the safety data on soda-lime container glass, the U.S. Glass Packaging Institute’s food-contact overview is the reference we keep coming back to.


